


Register your organization and start making calls in as little as 15 minutes
From Our Knowledge Base
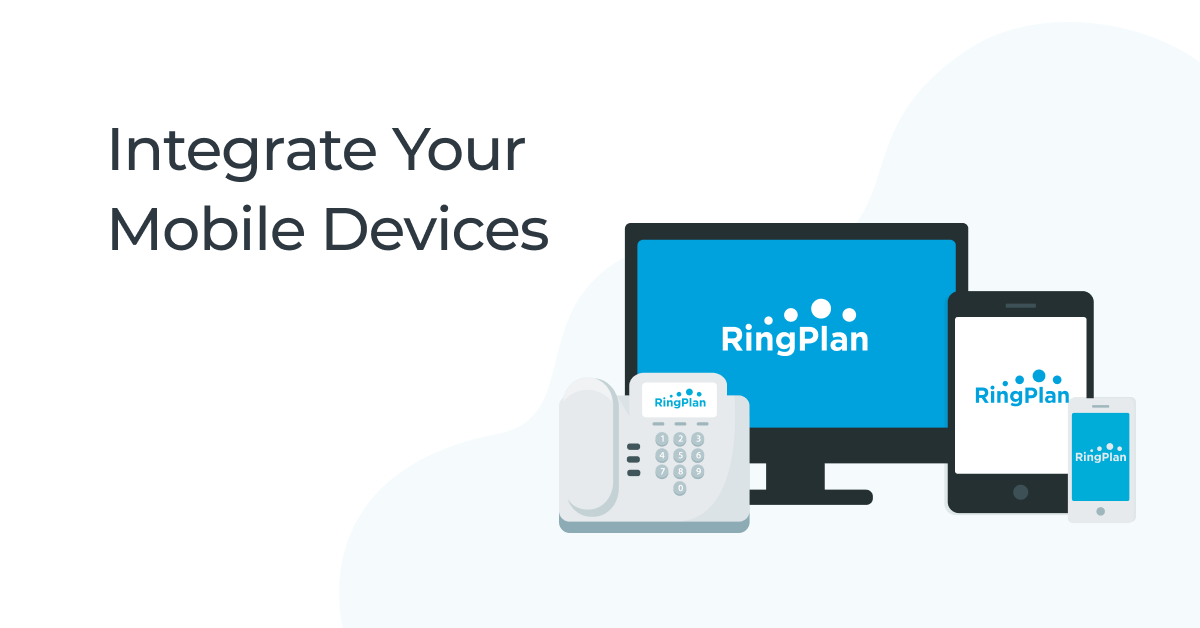
With RingPlan, users can take advantage of a small business phone plan, or full enterprise-grade phone system.
Regardless of which plan you choose, the process starts the same way. Follow the steps outlined below to access your company portal.
You will be asked to register your organization and download the mobile app. Once complete, you will be able to access your dashboard where you can add users, phone lines, and extensions. Additionally, with the RingPlan app, you can schedule secure video meetings, send and receive text messages and digital fax messages.
A valid email and mobile phone are required.
Registration Instructions
- Visit my.ringplan.com.
- Register using your company email address, Google account, Microsoft account, or favorite social media account. Your account will pre-populate information provided by your social media account.
If you registered using the steps mentioned above, you're pretty much done, you can jump directly to these instructions. - If you prefer to sign up with an email address, click on the link “sign up now” at the bottom of the page and follow the step-by-step process to populate your account.

- Create a new account and a verification email will be sent to your inbox. Visit your email to verify your email address.
Account Settings
- Create a new password and provide your personal information. Add your company information to create your new business account.
- Your new password needs to be 8-50 characters, containing 3 out of 4 of the following: Lowercase characters, uppercase characters, digits (0-9), and one or more of the following symbols: @ # $ % ^ & * - _ + = [ ] { } | \ : ' , ? / ` ~ " ( ) ; .
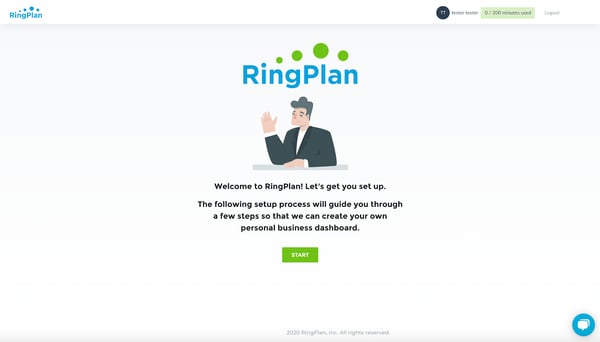
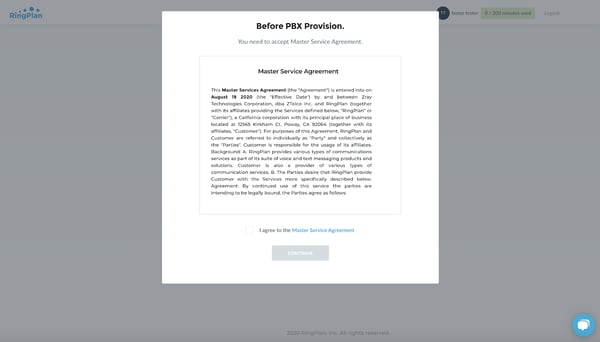
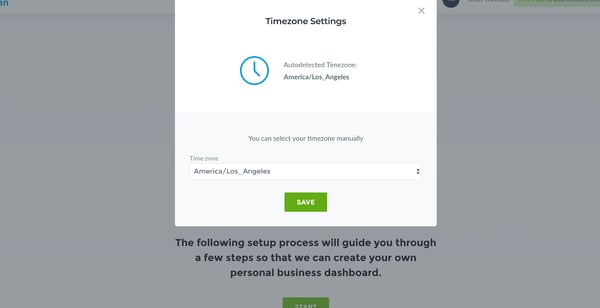
- Sign In using your login and password. Once inside, you’ll see a welcome window. Click on the START button and accept our Master Service Agreement and set your time zone.
Phone Provisioning - Service Address and E911 Settings
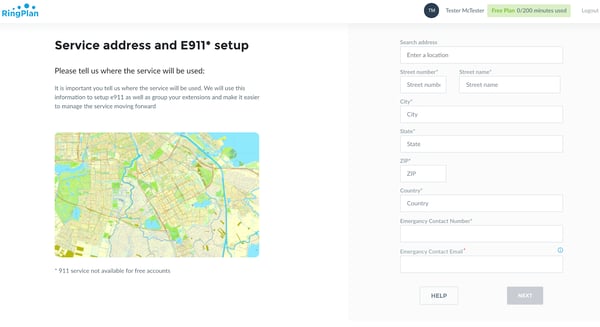
Register your business address and set up emergency contact information.
- Set your service address to set up E911.
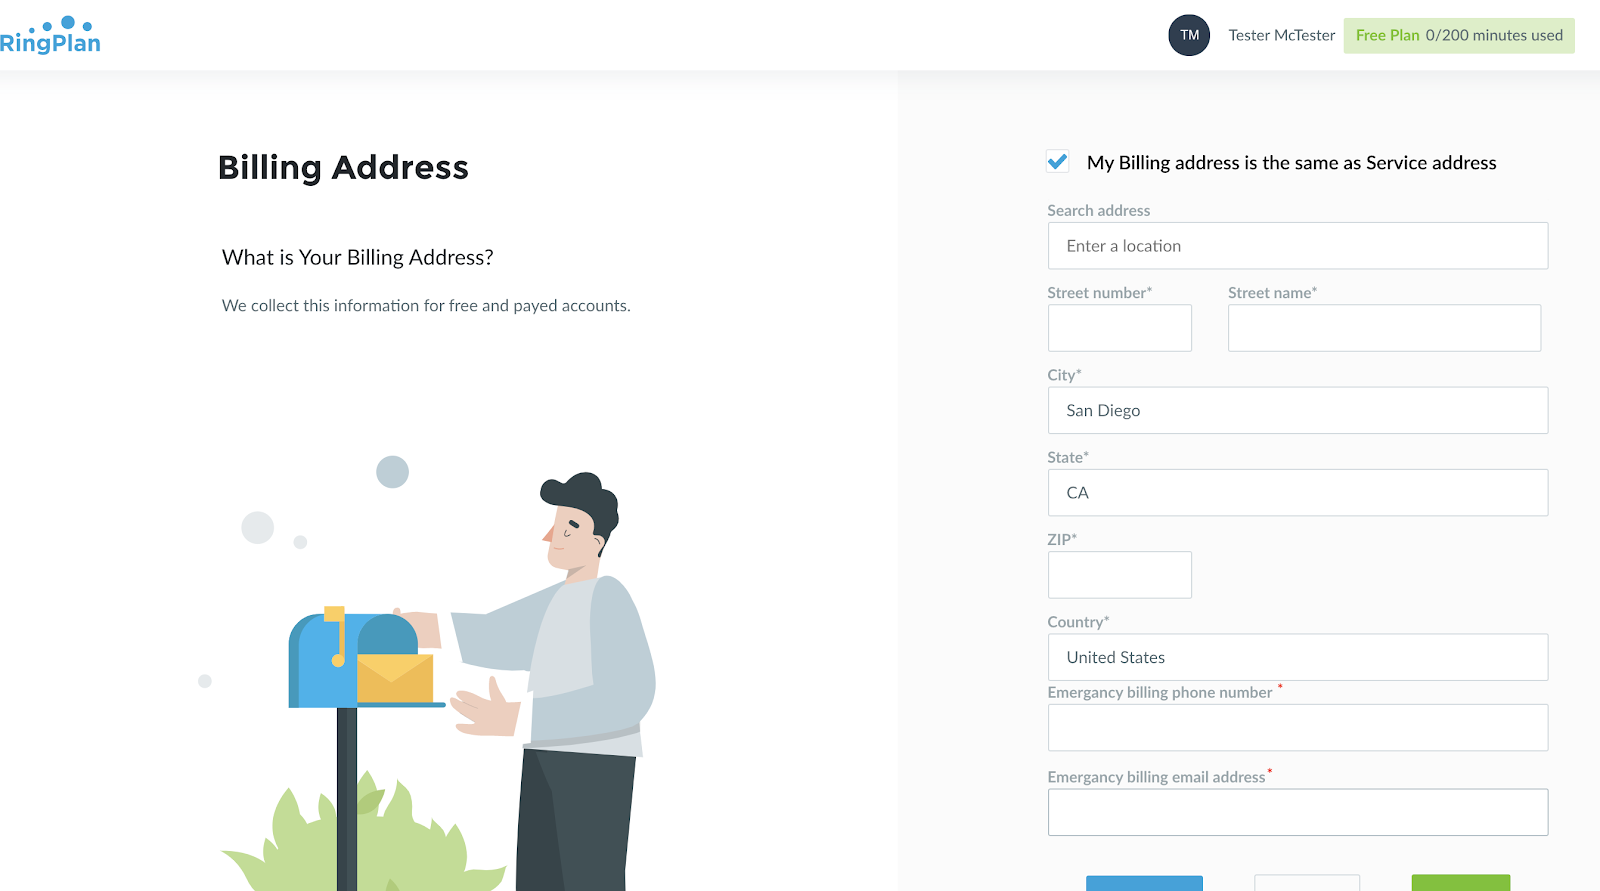
- Add your billing address.
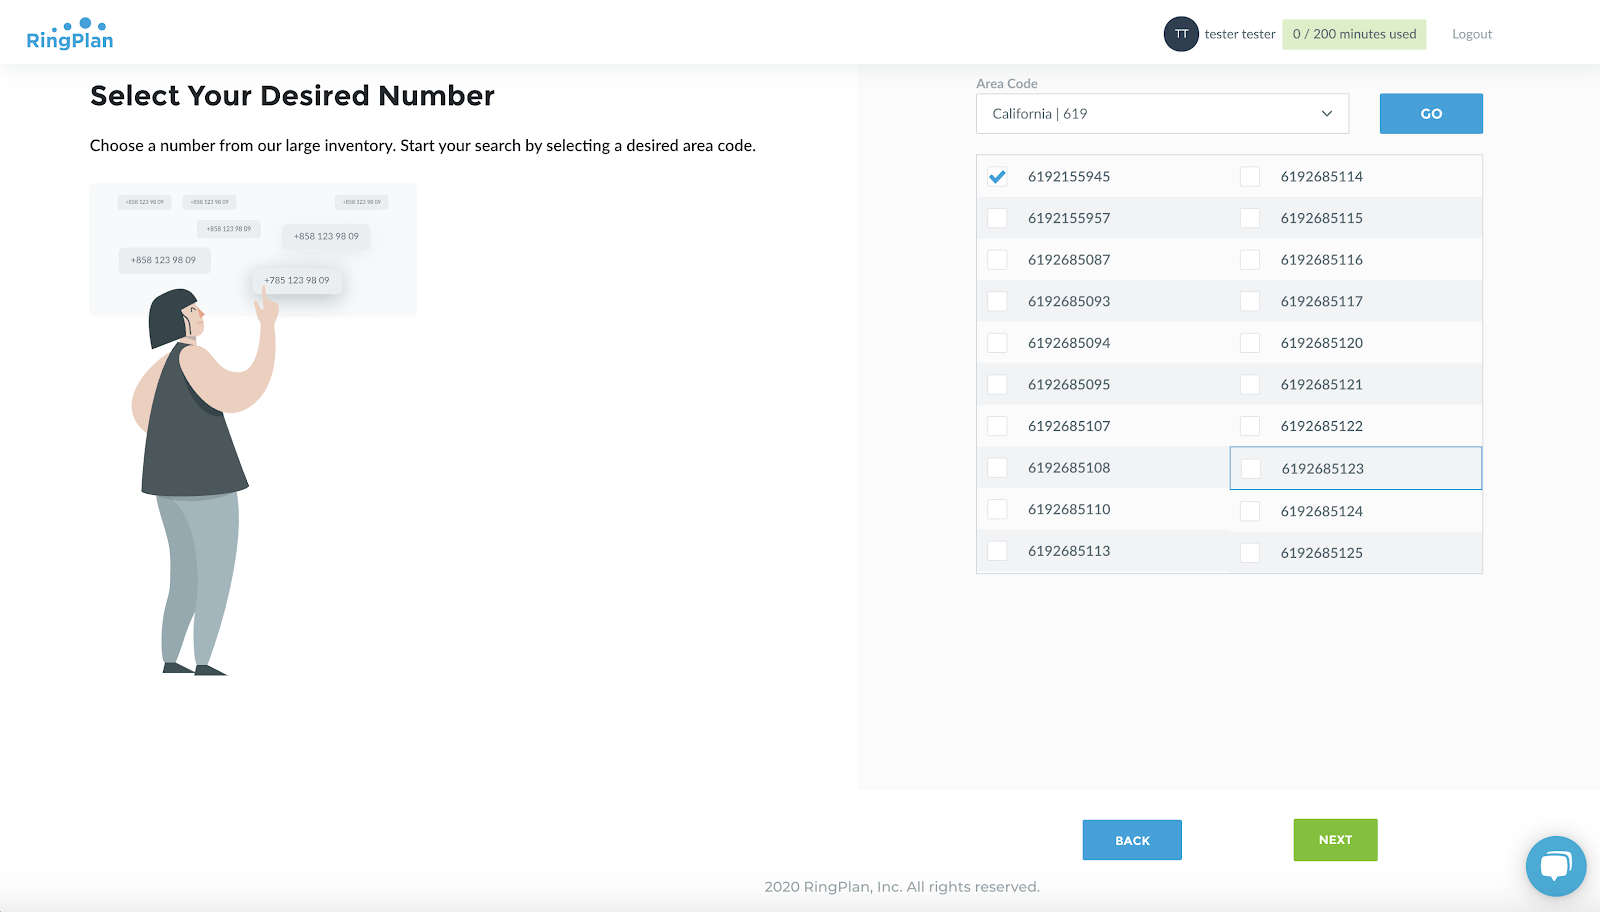
- Select your first phone number. Start by searching for available phone numbers using your desired area code. Select from the available numbers that appear and click on the NEXT button.
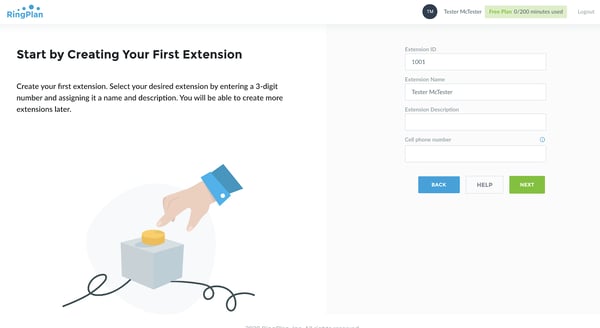
- Create your first extension. Select an extension number, assign an employee name and add a description
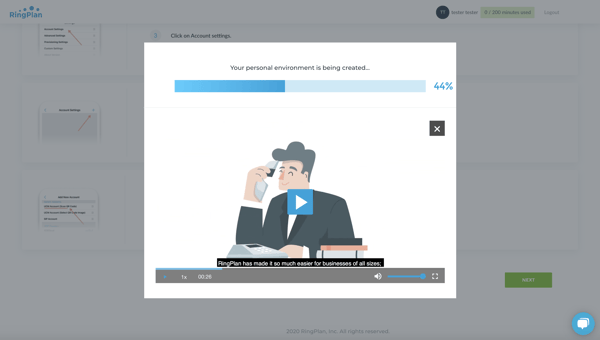
- Allow 5-10 minutes for your phone system to auto-provision. Watch the video and keep an eye on the status bar above the video to track your progress.
Installing the Softphone Application
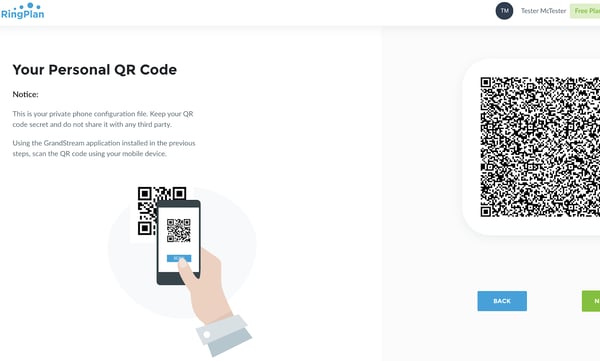
We will send you a link to your cell phone so you can install the RingPlan business phone app. Use this business softphone app to make VoIP calls from your cell phone. Once installed, scan your personalized QR code. We will provide you with your own personal QR code during your setup process.
- Click on the link sent to your mobile device. You can also download the app by visiting our downloads page.
- Open the app and tap on Settings

- Tap on Account Settings

- Click the Plus Sign to add an account

- Select UCM Account (SCAN QR CODE) Your camera will open, please scan the QR code we sent you for your extension.
- Finalize the set-up

- If successful you will see a green dot replace the red dot next to your extension number on the top of your mobile's screen inside the app. This green light indicates your mobile device is connected.
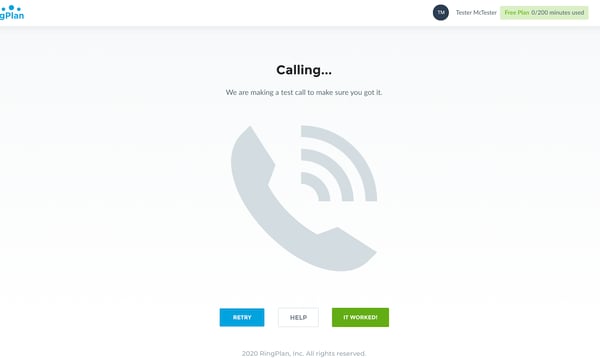
Receiving Your First Test Call
- You will receive a test phone call to confirm the setup process worked. If it did not work, try again. If you are still having trouble, click on ‘help.’
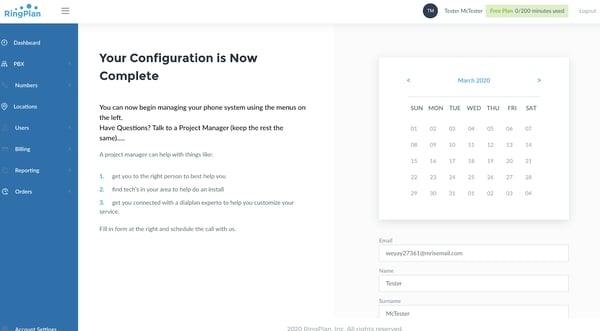
- Continue to your dashboard to add new lines, new extensions, to buy new phones and add toll-free numbers using the navigation on the left. If you are having trouble, set up a call with a project manager. Once successfully completed, you will be asked to sign in.
Further Questions?
See the RingPlan Knowledgebase for further training including video training, and questions on how to contact customer support and billing.